4 Self Assessments for Painful Hips

Tight hips are the number one problem we see in our Boston clinic.
Whether it's people dealing with lower back issues, hip pinching while running, or just your everyday hip tightness from sitting at a desk 24/7 🤨 most people have some sort of hip issues. Luckily for most people, hips are our Physical Therapist's wheelhouse.
If you're a human, you need your hips. Legit everything we do requires some form of hip function. Do you walk, squat, bike, run, sit, breathe? If you're reading this, then it's a yes. And unfortunately, a quick stretch and a little foam rolling aren't going to give you any type of hip health longevity.
Tight hips are super common, yes, BUT they need to be dealt with. But how?
First off, not all hip pain is created equal. Some people feel it in the front of their hip in the form of a pinch, others on the outside of the hip with just some tightness, and others just feel like they're 90 years old when they stand up 🥴
Everyone needs special hip homework to work on their discrepancies in movement, the amount of range you control, and just how your body was made.
Which category do you fall into? Let us know, and we can help
Next, we have to assess. If you've been following along, everything we do is based on the assessment. In this case, everyone has different hips, so I can't treat myself the same as you, or the guy down the street. That's why the assessment is so vital, it ensures that we're not guessing about what we're doing.
But how do I do this on my own?
Great question! Obviously, the easiest way to cure your hip pain is to seek out a qualified professional to go through that assessment, treat it properly(here's how we do it), and follow up with corresponding exercises. BUT -- sometimes that is not an option. So, we'll make due.
A self-assessment can be a great way to get a glimpse into how exactly your hips look, and if there are any glaring issues you can handle on your own.
Here's a look at the 4 Self Assessment tests of the hip, how to do them, and what to look for
Assessment #1 Hip Flexion
Hip Flexion Active Vs Passive Test
Hip flexion is where we start. For most people, this is where the pain lives.
The test:
Passive: Standing straight on a wall, bring one knee up to your chest, and pull it up as high as you can without bending backward or overcompensating from other positions.
Things to note: Do you feel a pinch in the front of the hip? Where? When? Write that down.
Active: On that same wall, do the same hip flexion motion, just without using your hands.
Things to note: Is that pinch still there? How high can you get your knee? Is it close to the passive test?
Assessment #2 Hip External Rotation
.jpg)
Hip Internal Rotation Active Vs Passive Test
Hip IR might be the most important test. Hip IR is the prerequisite to all hip motions -- without this, you have no hip. And yet, this is the common weak point for 9/10 people dealing with pain. Including me.
The test:
Passive: Using a dowel, broom, etc, stand straight on a wall. From here, use the dowel and bring it on the out of your hip while looping it underneath your foot. This will give you leverage to 'pull' your hip into internal rotation. Make sure the hip stays at a 90-degree angle, and stretch the hip into IR by bringing the foot out as much as it can. DO NOT let the pelvis hike up here!!!
Things to note: Does your hip even move? Does it instantly cramp? Where? When? Do you feel like you have to move your pelvis? Write that down.
Active: On that same wall, do the same hip internal rotation motion, just without using your hands. Don't let the knee go above or below 90 degrees, and keep the pelvis still.
Things to note: Can you get that hip to rotate? Tough, right? Do you cramp up? Are you able to feel the outside of your hip work? Is it a struggle to get into that position? Is it close to the passive test?
Assessment #1 Hip Extension Thomas Test
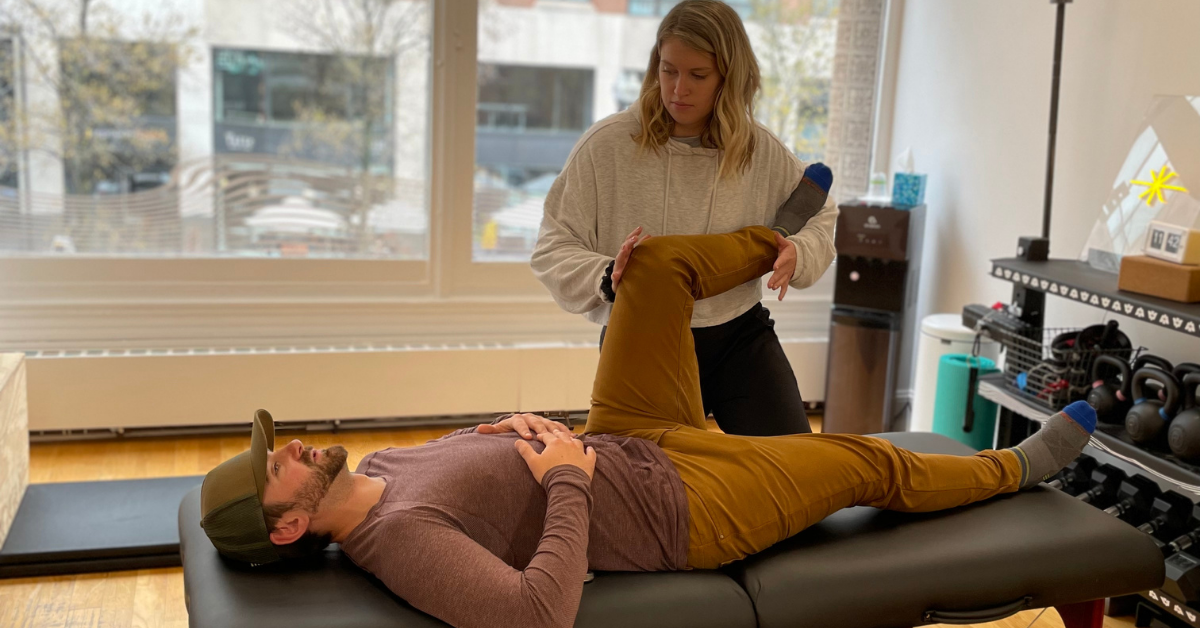
No active vs passive here, but simply a test to see how well your hip extends. What we're looking for is how much does the knee drop below the pelvis, and does your pelvis have to compensate for that motion?
Ideally, you take a video of yourself going through these motions. It's one thing to think you're doing them correctly, and another to actually see what overcompensations are happening. Trust me, when I shot these I had MANY takes because you never really know how your body is moving until you watch it!
Go through the tests and have findings? We're dying to hear! Shoot us a message, and let us know what you found. Feel free to submit your video, and we'll take the time to watch and give you some feedback on the findings.
Think you need some more help? Most people do. Schedule your FREE fitness assessment today, and one of our personal trainers will take you through the self-assessment and give you exercise homework to correspond with the findings.
Have some more questions? Book a FREE 15-minute discovery call with Jeremy and figure out where you are now, where you want to be, and how Ripple can get you there
It'll change your life, seriously.


